3.5-Inch Diskette Drive Removal
To remove the 3.5-inch diskette drive assembly, perform the following steps.
1. Remove the computer cover.
2. Disconnect the DC power and data cables from the diskette drive.
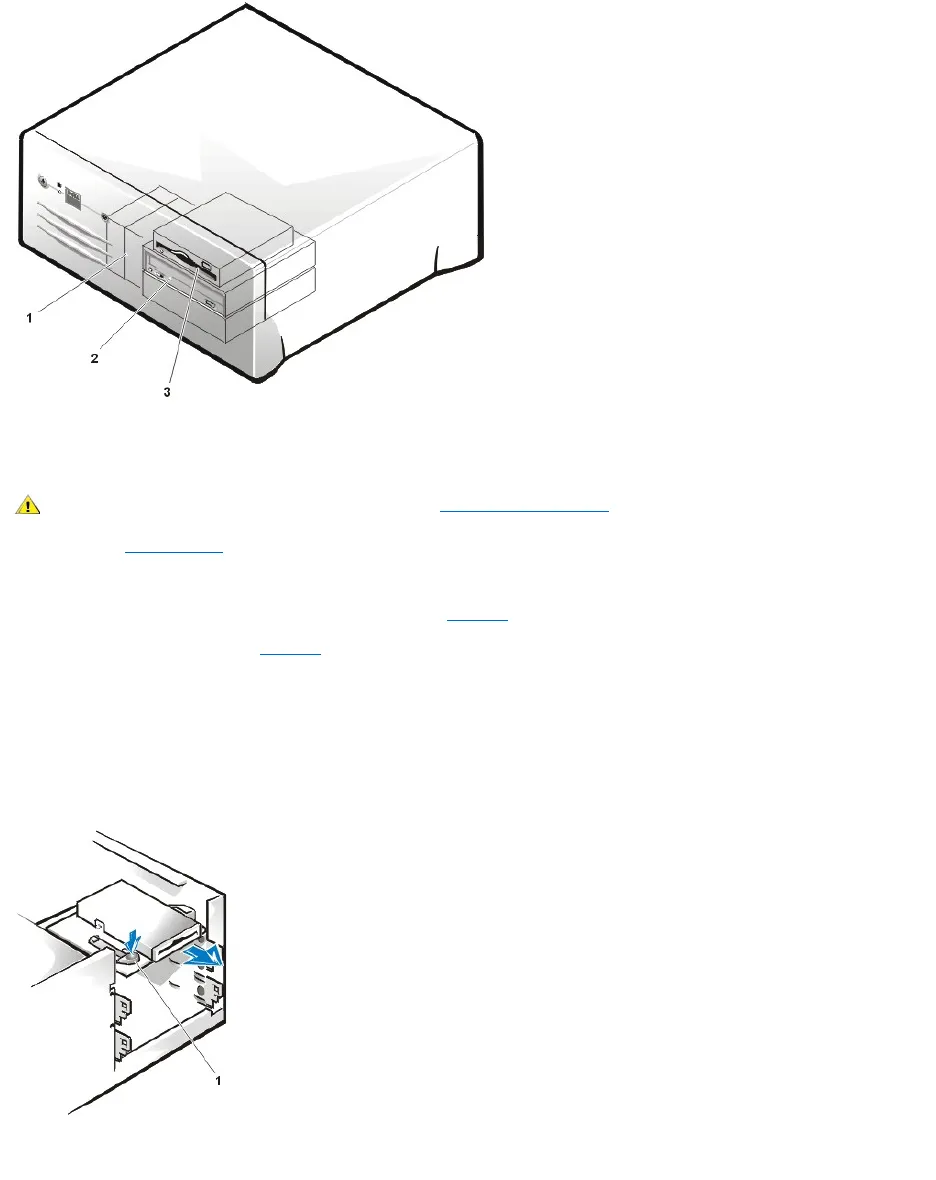
3. Press the green diskette drive retaining-tab release button (see Figure 11) and pull the drive assembly forward to remove it.
4. Remove the mounting screw (see Figure 12).
5. Rotate the diskette drive upward and lift it free.
When you replace the 3.5-inch diskette drive on the bracket, be sure that the two retaining tabs on the right side of the bracket engage the
mounting holes in the side of the 3.5-inch diskette drive. Rotate the drive down. Then replace the screw that holds the diskette drive to the bracket.
To replace the 3.5-inch diskette drive assembly in the chassis, slide the retaining tabs into the guides on the chassis until the bracket snaps into
place.
Figure 11. 3.5-Inch Diskette Drive Removal
Figure 12. 3.5-Inch Diskette Drive Bracket