RIMMs
To remove a Rambus in-line memory module (RIMM), perform the following steps.
1. Remove the computer cover.
2. Rotate the system power supply to allow you to access the RIMMs.
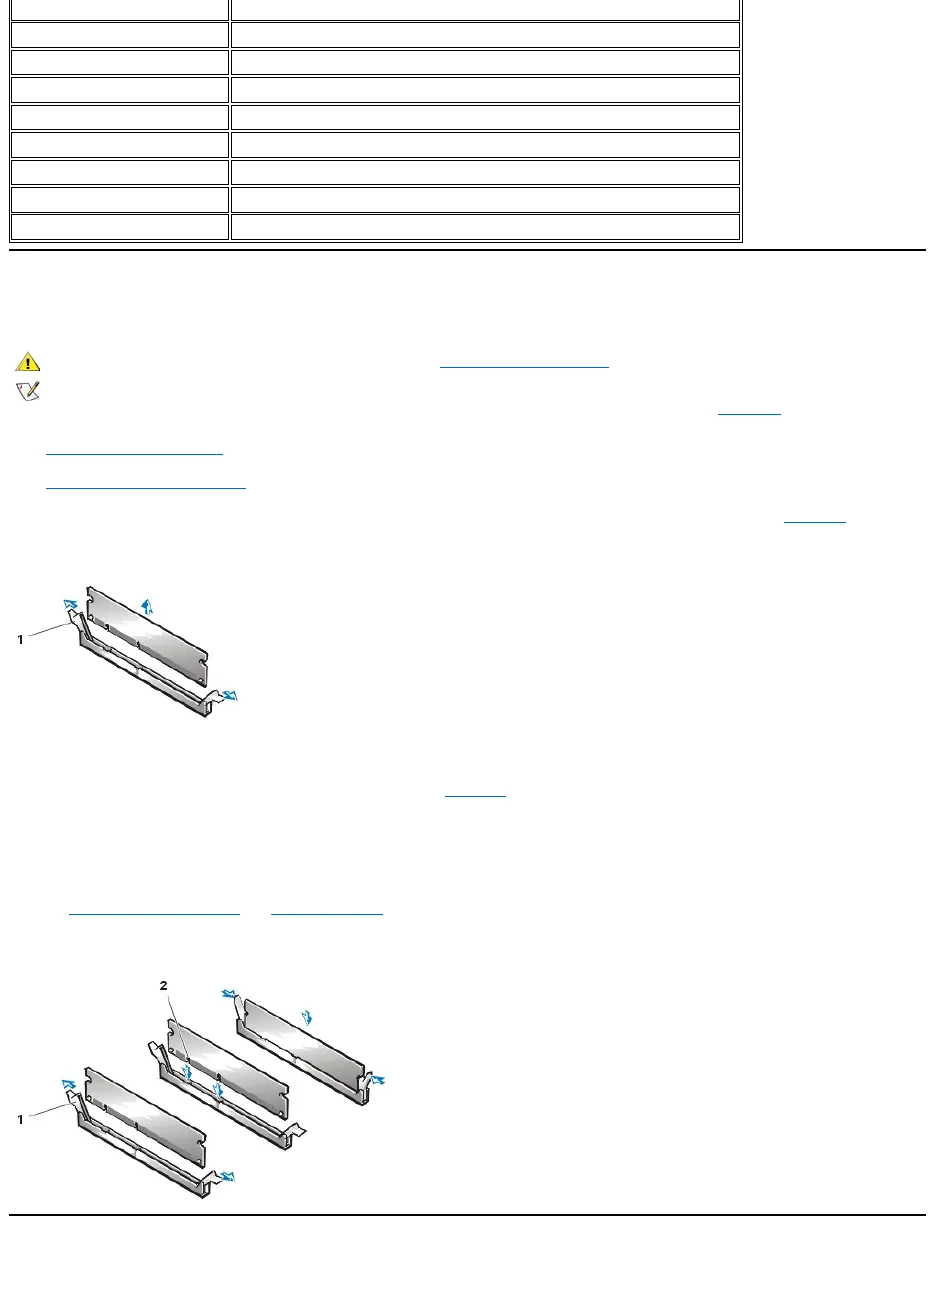
3. Press the securing clips outward simultaneously until the RIMM disengages and pops out slightly from the socket (see Figure 23).
Figure 23. Removing a RIMM
To reinstall a RIMM, perform the following steps.
1. Locate the plastic securing clips at each end of the socket (see Figure 24).
2. Press the clips outward until they snap open.
3. Press the RIMM straight into the slot running down the center of the socket until the securing tabs snap into place around the ends of the
RIMM.
After you replace the computer cover and restart the system, run the Dell Diagnostics to verify that the RIMMs are operating properly.
Figure 24. Installing a RIMM
Microprocessor/Heat Sink Assembly
To replace a microprocessor, perform the following steps.
NOTE: Before disconnecting a peripheral from the system or removing a component from the system board, disconnect the power
cable and verify that the standby power LED on the system board is off. For the location of this LED, see Figure21.