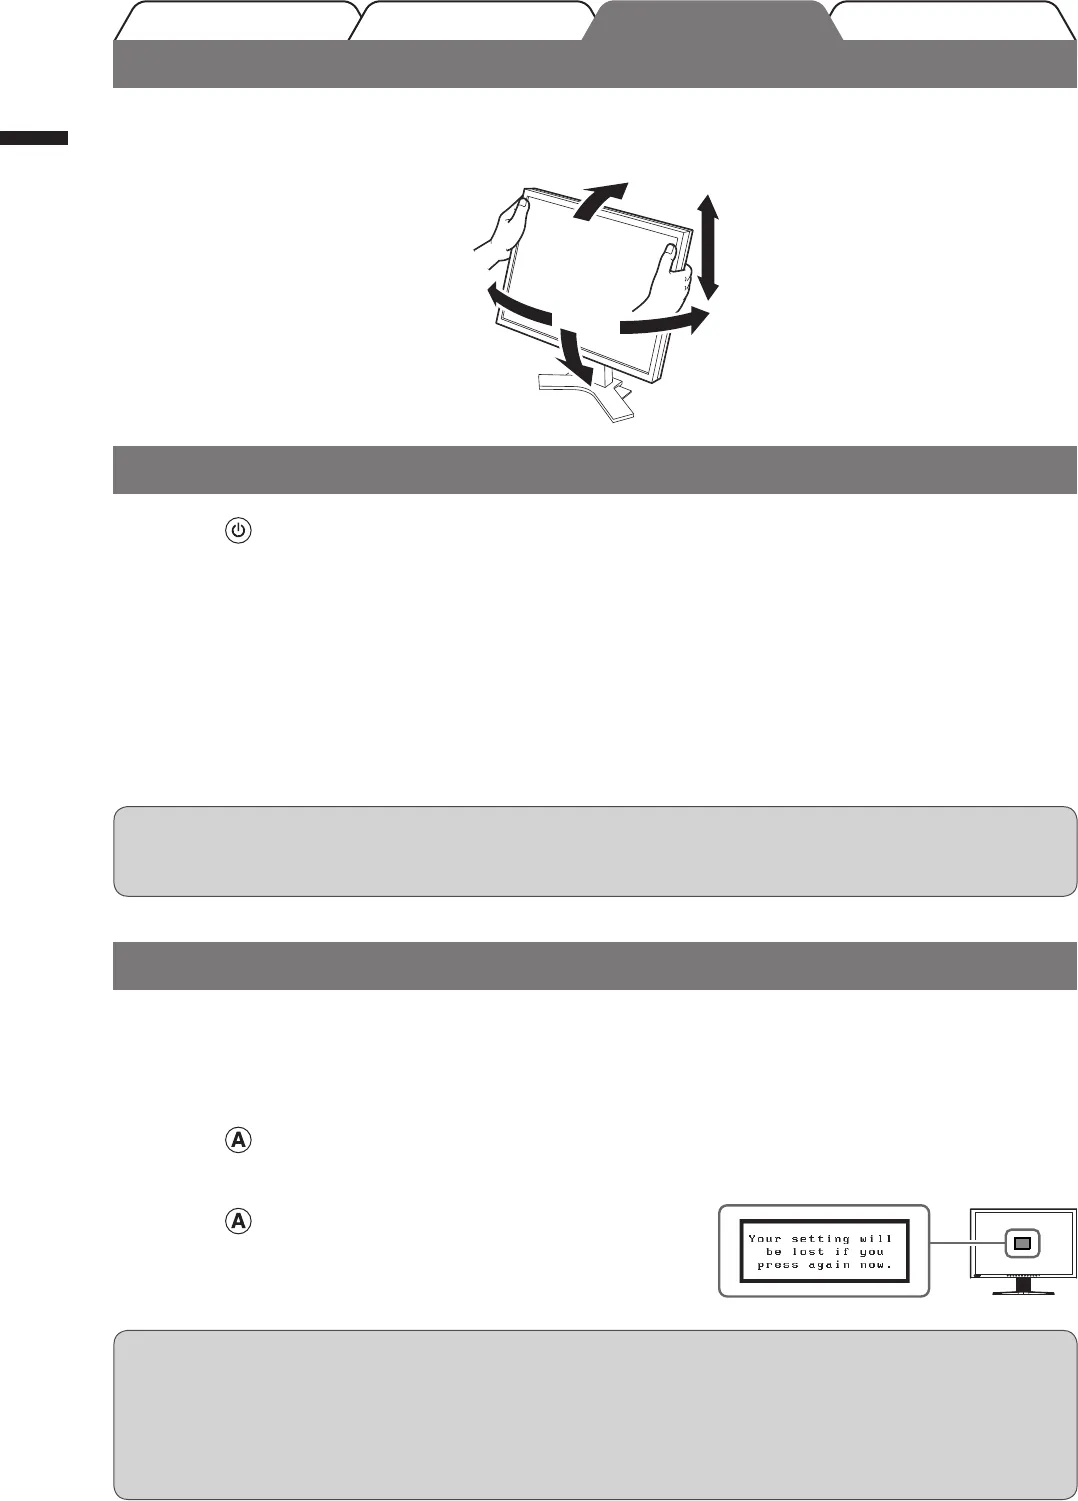
Adjusting Screen Height and Angle
Hold left and right edge of the monitor with both hands, and adjust the screen height, tilt and swivel of the screen to the
best condition for working.
Displaying the Screen
1
Press to turn on the monitor.
The monitor’s power indicator lights up blue.
2
Turn on the PC.
The screen image appears.
3
When using analog input signals, perform the Auto Adjustment function. (Refer
to “Performing Auto Adjustment Function” below.)
The Auto Adjustment function is not necessary when digital signals are input because images are
displayed correctly based on the preset data of the monitor.
Attention
• Turn off the monitor and PC after using them. Unplugging the power cord completely shuts off power
supply to the monitor.
Performing Auto Adjustment Function (Analog input only)
When analog signals are input, the Auto Adjustment function enables the automatic adjustment of clock, phase, screen
position, and resolution.
For details of the Auto Adjustment function, refer to the User’s Manual on the EIZO LCD Utility Disk (CD-ROM).
1
Press .
A message window appears.
2
Press again while the message is displayed.
The Auto Adjustment function is activated and clock, phase,
screen position, and resolution are adjusted automatically.
Attention
• The Auto Adjustment function works correctly when an image is fully displayed over the display area of a
PC screen.
It does not work properly when an image is displayed only on a part of the screen (DOS prompt window,
for example) or when a black background (wallpaper, etc.) is in use.
• The Auto Adjustment function may not work properly with some graphics boards.