Maintenance and care
Cleaning the filter
The key to maximum performance is a clean
filter. Cleaning the filter after each use will help your
FeatherWeight vacuum operate at peak efficiency.
Use only BISSELL replacement filters (#32019) in your
BISSELL FeatherWeight.
1. Follow the steps on page 5 to remove dirt container.
2.
Remove filter from the filter frame and shake over
a waste container.
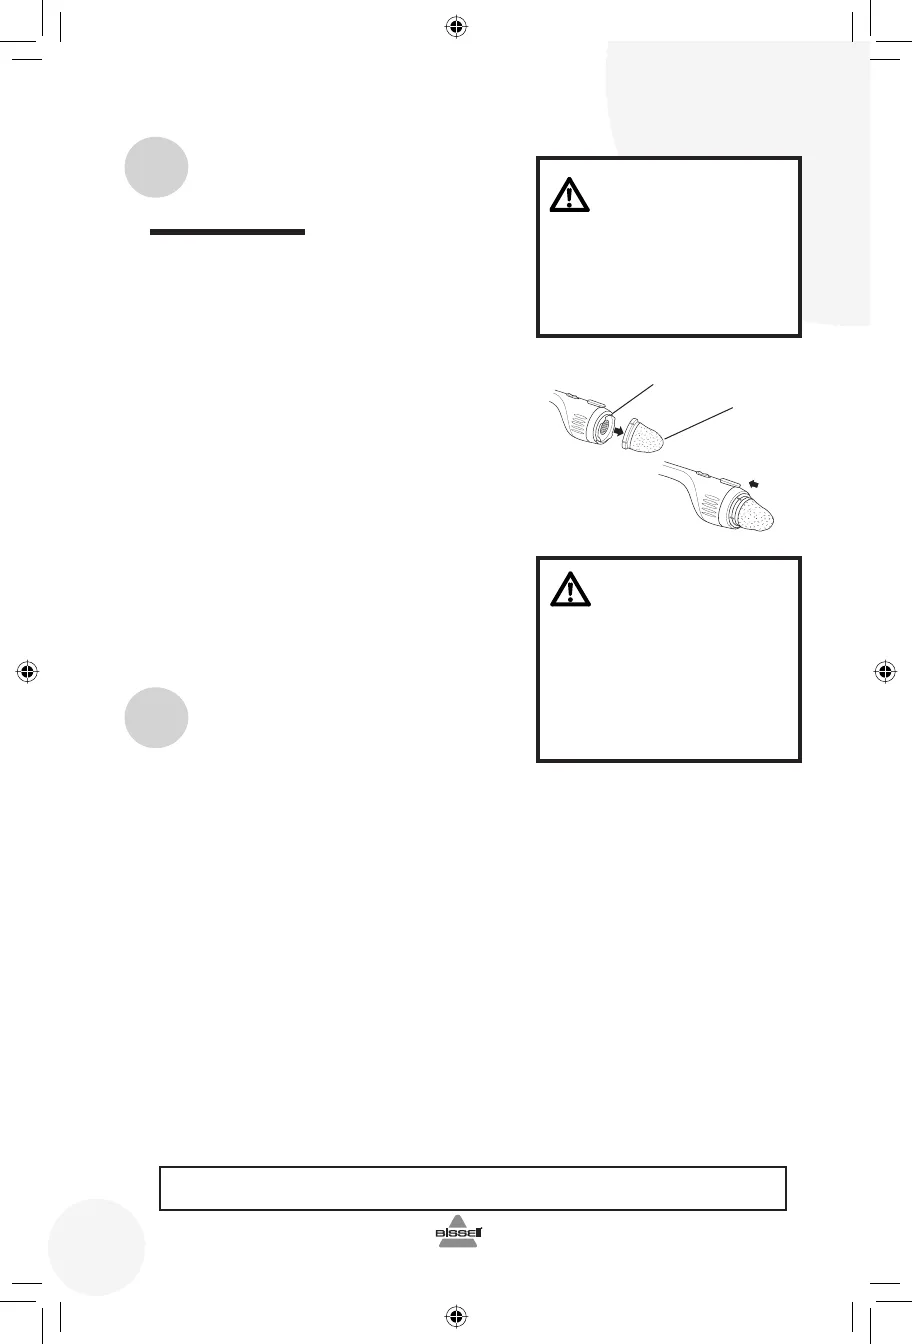
3. To replace the filter back onto the filter frame,
line up the curved tabs of the filter frame with the
curved notches on the filter, and push together to
secure. The filter should be fully pressed against
the unit to prevent dust from escaping.
4. Attach dirt container to vacuum by depressing
latch and securely fitting onto hand vacuum grip.
Make sure dirt container is correctly secured.
5. After heavy usage, you may clean the filter by
washing it gently by hand in warm water and mild
dish detergent. Rinse thoroughly and make certain
it is completely dry before replacing it. If the filter
is torn, replace it with a new filter.
Troubleshooting
Other maintenance or service not included above should be
performed by an authorized service representative.
Thank you for selecting a BISSELL product.
Please do not return this product to the store
Vacuum cleaner won't run
Possible Causes Remedies
1. Power cord not firmly plugged in 1. Check electrical plug
Vacuum cleaner doesn't vacuum effectively
Possible Causes Remedies
1. Filter clogged, wet or dry 1. Follow instructions for cleaning filter
on page 6
2. Dirt container clogged 2. Follow instructions for emptying dirt
container on page 5
Dust blows out of the air vents
Possible Causes Remedies
1. Filter not properly secured to filter frame 1. Follow instructions for replacing filter
on page 6
2
Filter Frame
Filter
3
CAUTION:
Never operate your
FeatherWeight vacuum
without the filter in place.
Doing so may damage
the motor and void the
warranty.
WARNING:
To reduce the risk of
injury from moving parts
and/or electrical shock,
turn Power Switch OFF
and disconnect plug from
electrical outlet before
performing troubleshooting
checks.
6
www.bissell.com
ug603-5513_3106J_907.indd 6ug603-5513_3106J_907.indd 6 9/25/07 2:28:09 PM9/25/07 2:28:09 PM


